Wednesday, May 23, 2012

Cinnamon Roll Heaven

I spent three and a half hours today creating blueberry cinnamon rolls from a recipe I found on Pinterest.com. Was it worth all the effort? ABSOLUTELY! I have to admit that I needed to really get my motivation in line with my desire for cinnamon roll goodness though. I have had all the ingredients ready to go for almost a whole week now but after reading the recipe on http://www.beantownbaker.com/2011/08/blueberry-cinnamon-rolls.html I was really intimidated by the time commitment considering my current trend toward having contractions just as soon as I get started doing something time consuming and then I have to down a bunch of water and go lay down. Today though, I decided that the blueberries wouldn't wait another day and got started on them rolls very first thing in the morning. I think I documented these better than I have anything else up to this point so I really hope you enjoy them too! Oh and a special thanks to Beantownbaker.com for my complete cut and paste of your recipe to my page. Here it is ladies and gents!

Ingredients (makes 24)
    For the Dough
    • 2 cups whole milk
    • 1/2 cup vegetable oil
    • 1/2 cup sugar
    • 2 1/4 tsp active dry yeast
    • 4 cup flour
    • 1/2 cup flour
    • 1/2 heaping tsp baking powder
    • 1/2 scant tsp baking soda
    • 1/2 tbsp salt
    For the Blueberry Filling
    • 1 pint blueberries
    • 3 tablespoons granulated sugar
    • 2 teaspoons cornstarch
    • 2-3 teaspoons lemon juice
    • 3/4 cup water
    Additional Blueberries for Sprinkling
    • 1 pint blueberries
    • 2 Tbsp sugar
    • 4 Tbsp cinnamon
    • 2 Tbsp flour
    • 1 batch Cream Cheese Frosting (I used a can of cream cheese frosting from the store because I had it on hand)
    Instructions
    For the Blueberry Filling
    In a small saucepan, combine 1 pint of the blueberries, sugar and cornstarch. Stir in lemon juice and water. Turn heat to medium and cook, stirring often, until mixture begins to thicken slight. Remove from heat and allow to cool.
    For the Dough
    Mix whole milk, vegetable oil and sugar in a pan. Scald to 150 degrees. Let cool until lukewarm (~45 minutes). Sprinkle in yeast and let sit. Then add 4 C flour, stir mixture together. Cover and let sit for one hour.
    Add 1/2 C flour, baking powder, baking soda, and salt. Stir mixture together.
    Divide the dough in half. Sprinkle surface generously with flour and form into a rectangle, roll the dough thin, maintaining a rectangular shape. Spread half of the blueberry filling onto the dough. Sprinkle half of the additional blueberries for sprinkling on top. Roll the dough toward you. Pinch the seam to seal it. Grease foil cake or pie pans. Cut rolls 3/4 to 1 inch thick and lay in greased pans. Repeat with other half of dough and blueberry filling.
    Cover the rolls and let sit for 30 minutes.
    Bake at 375 for 15 to 18 minutes.
    Generously drizzle frosting over warm rolls after they come out of the oven.
    Dough recipe from The Pioneer Woman


    I started with the dough first since reading all of the directions all the way through is not exactly my strong point LOL! Here's the milk, oil, sugar mix right after being scalded. It's VERY important to make sure the sugar is completely dissolved and having a candy thermometer is an absolute requirement to making sure it's not burned. DO NOT walk away from your pan or attempt to do anything else in the kitchen while you get to this point. 


    I made sure to have my yeast and my 4C of flour ready to go as soon as the 45 minutes of cool down time for the milk mixture was done.


    Meanwhile back at the ranch.... I made the blueberry goo to go on the insides! The bit I would do differently would be to make sure I have the water and lemon juice ready to go before I started the blueberry, cornstarch, sugar mix on the stove. It looks kinda cloudy and gross right here but I promise give it some time on the heat and it starts to look like home made jam full of blueberry goodness!


    See? Just like that! This is the starting to thicken stage where it does a glorious job of clinging to the spoon.


    Time is up and from 150 degrees our milk mix had cooled to 100 degrees. Perfect for activating the yeast. So, sprinkle it in there give a good stir to get everybody in the pool excited and pour the contents of the pan into a large bowl with the flour in it and mix it up really well and..........


    let it sit. For an hour. Now would be the perfect time to make that cream cheese frosting that was mentioned earlier if you felt so inclined. Personally, I decided that lunch was more important especially seeing as how I already had a can of frosting in the pantry just waiting to be used.


    Make sure you mix the baking powder, baking soda, salt, and flour very well before adding it to your raised dough and knead it till it's all mixed in and the dough is gooey again. I chose not to cut the dough in half before rolling it out so I got a GIANT stretch of dough across my entire dining table. It was glorious! Just look at that beautiful berry filling!


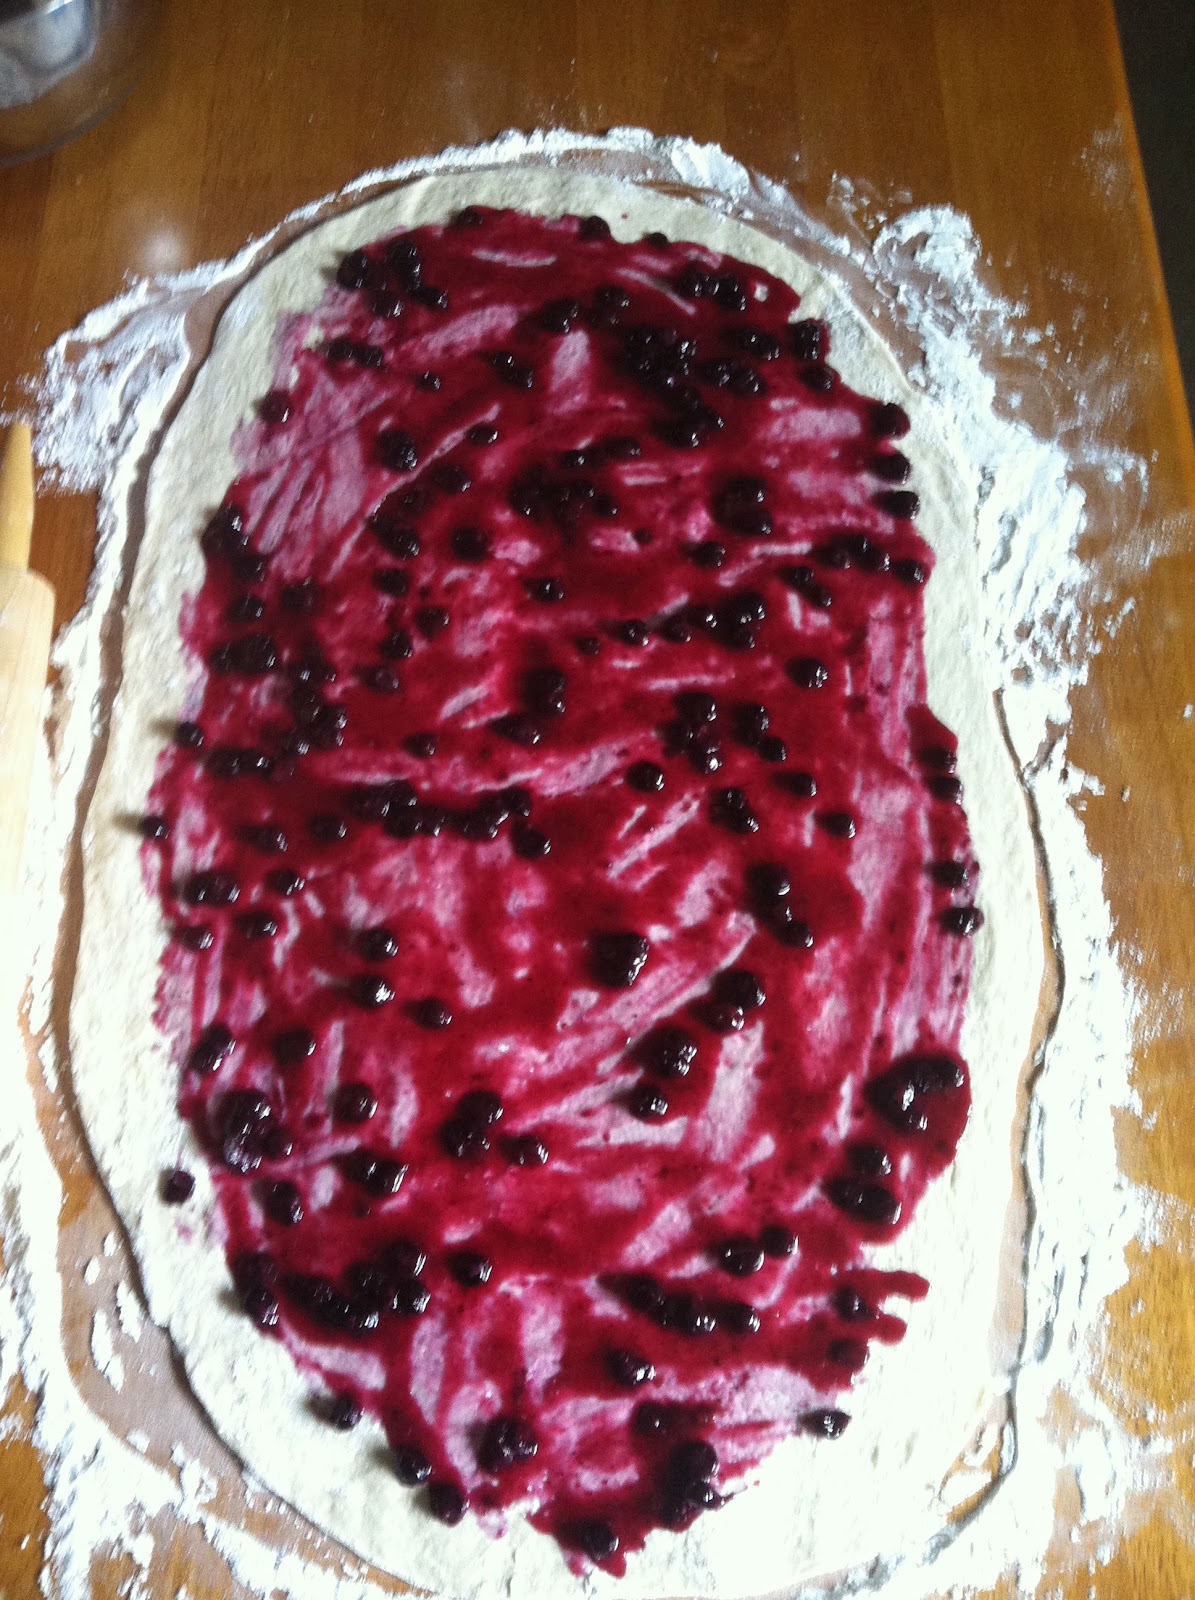
    I sprinkled the cinnamon sugar mix all over and our little girls claimed it looked magical. I have to agree!


    The final layer of plump, ripe, blueberries and we are ready to roll!


    It looks like a snake that ate a giant bag of marbles!


    I was very concerned that the blueberry juice would stain my table after I cut the cinnamon rolls up but it cleaned right up with a damp paper towel. Yay!


    Leaving some room for the rolls to rise into and fill is your better option and unless you want to ruin a good dish towel paper towels work just fine for covering your rolls while they rise.


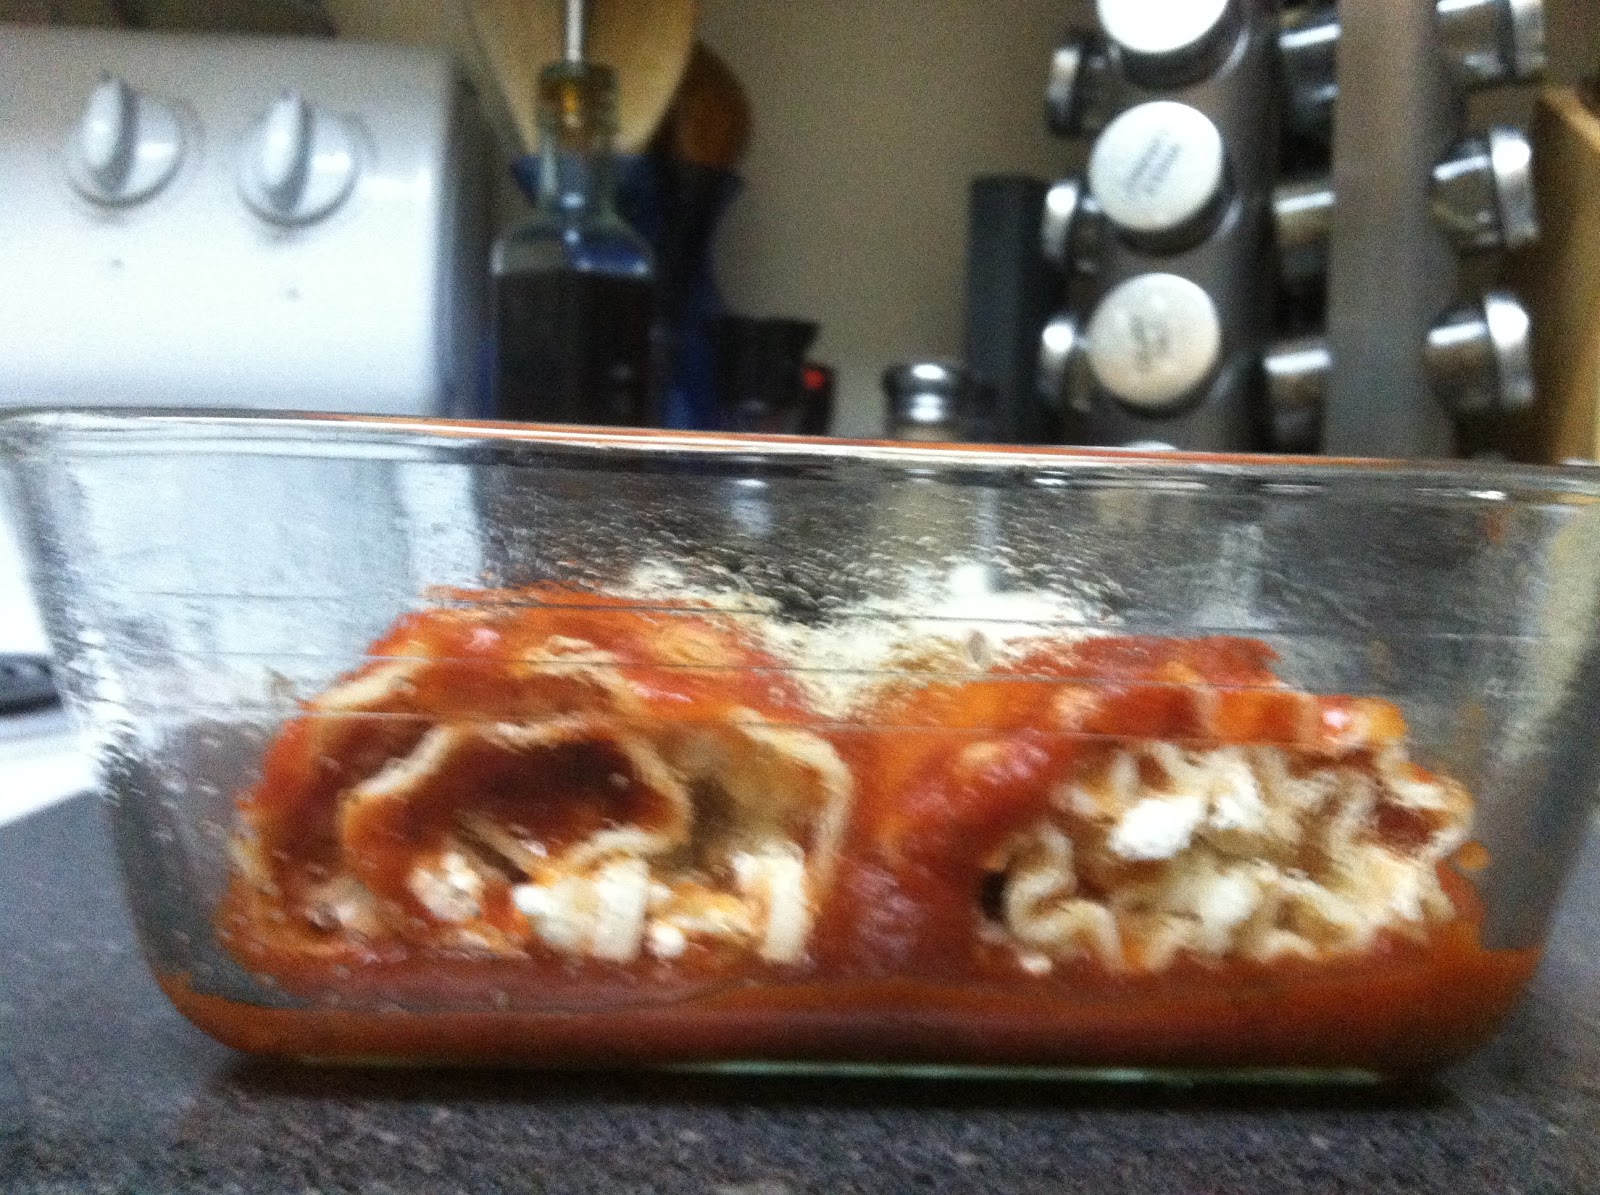
    You see how wonderful and blueberry filled they are? Yeah that's crazy awesome!


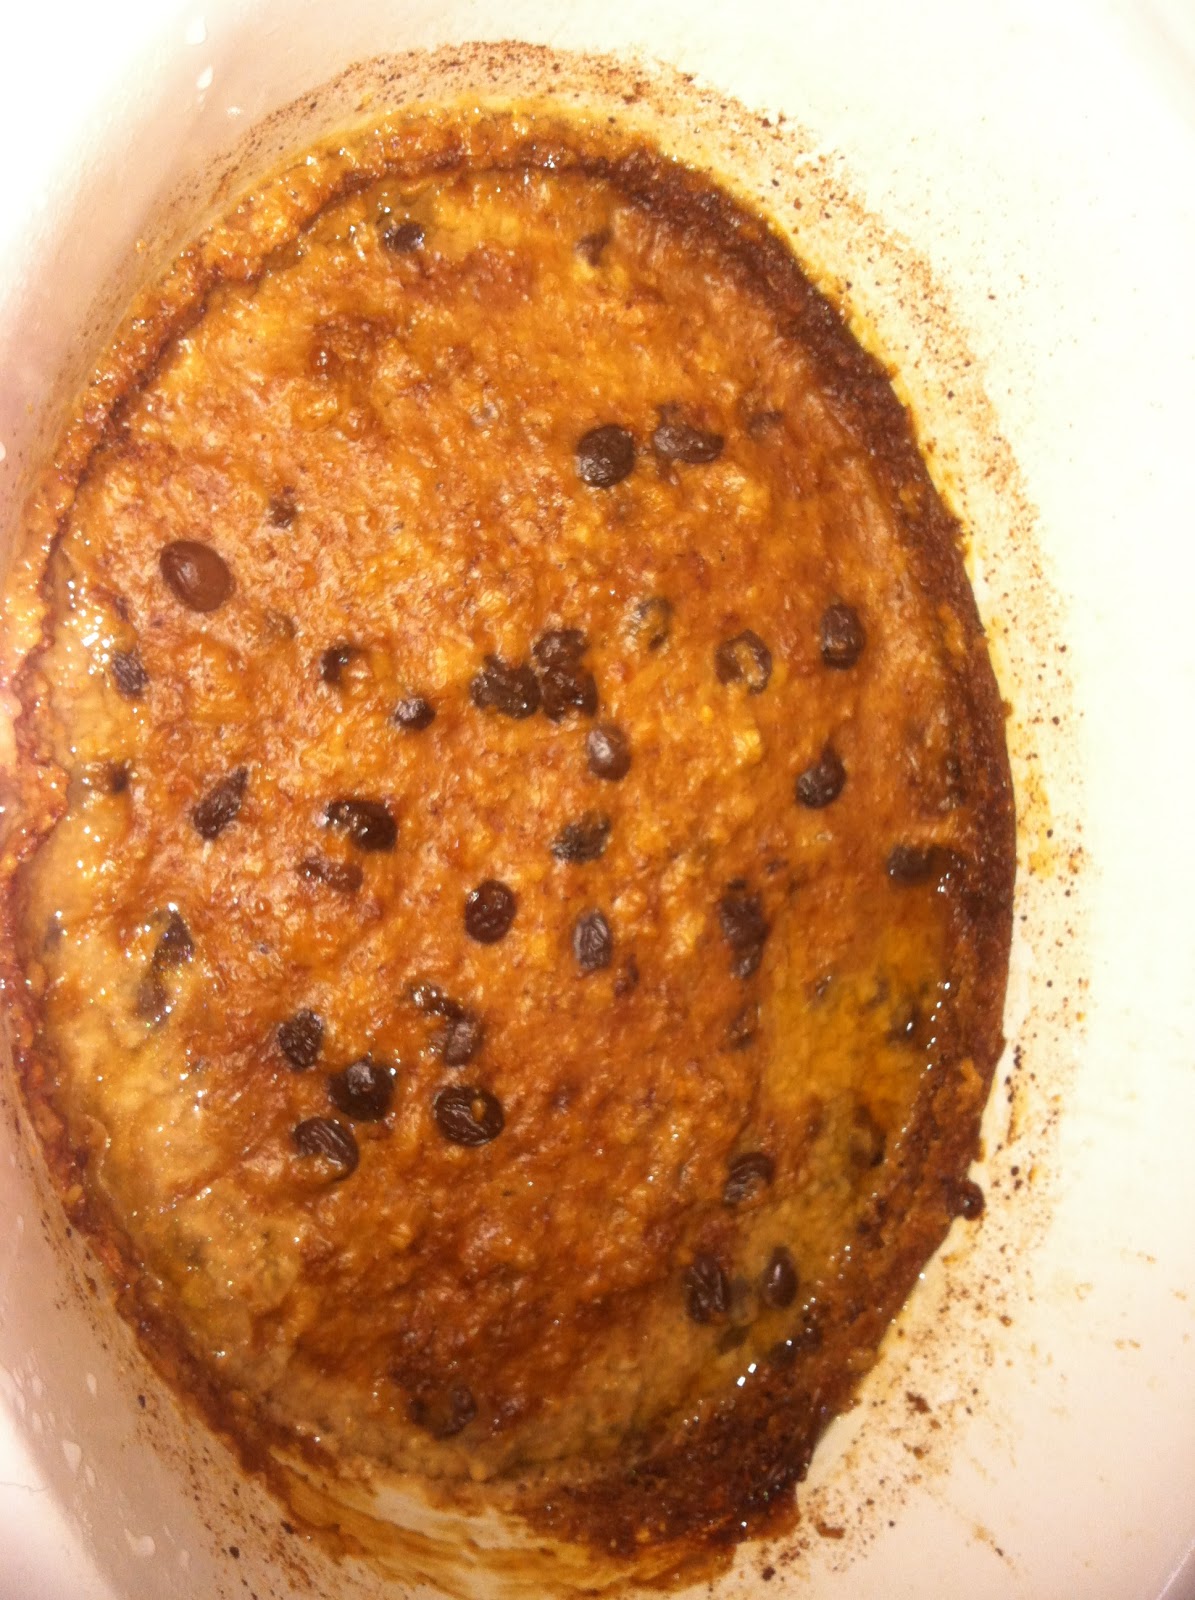
    Proof that leaving some room to rise is a good thing cause there they are fresh out of the oven!


    And frosted. The frosting is the final touch that makes them so amazing.


    Just look at how light and fluffy and full of blueberry goodness. 


    This one is my favorite pic of the rolls because even though it's kinda washed out you can see how wonderfully FULL of flavor they are!

    I sincerely hope that you make these cinnamon rolls at least once because they are so very completely worth having!

    Friday, May 11, 2012

    Deep Fried Delicious


    Tonight we went to the grocery store for bread and came home with a whole basket full of veggies. Now I'm not normally a fan of fried green tomatoes but I'm gonna blame it on being pregnant. Anyway when we got home with the tomato, avocado, and zucchini I realized that I didn't have any cornmeal for making fried green tomatoes properly. Bring on the improvisation! I decided that I could use all of the seasonings for fried green tomatoes in panko bread crumbs. Here's the recipe:

    1 firm green tomato sliced
    1 barely ripe avocado cut into strips
    1 zucchini sliced
    1 C tempura batter
    Panko Bread Crumbs
    1 T Italian Seasoning
    1/4 t pepper
    salt
    vegetable or favorite oil to deep fry in
    1 cup instant grits
    1/3 C shredded cheddar cheese

    Heat frying oil.
    Cook instant grits according to package directions then stir in cheese and add salt and pepper to taste.
    Remove from heat, cover and let sit.

    In a medium size bowl prepare tempura batter with very cold water according to package directions. 
    Mix Italian Seasoning bread crumbs and salt and pepper.

    Dip vegetables in tempura batter then coat in panko and deep fry till golden brown. 
    Remove from oil, drain on paper towels, and salt generously.

    Serve all parts (especially the avocado) warm. Sprinkle more cheese over grits if it appeals to you =-)


    My finished product
     The aftermath of the amazing plate of fried goodies :-D


    I will completely be using this frying technique again. My wonderful Husband claimed that I fed him too well and whined about his overly full belly for at least an hour afterward. I call that success!

    Friday, April 27, 2012

    Cheese filled love on a plate

    Today I made two different lasagnas for my husband's birthday party tomorrow and I discovered that I had left over filling as well as four fully cooked and still intact noodles. "What to do with all this?", I pondered for only the briefest of moments before deciding that I would try my hand at lasagna rolls. I can NOT believe how amazingly well they turned out! In fact my affection for these little packages of incredible is so great that I am absolutely going to make them again.

    Here's how it started, lay out fully cooked noodles on your work surface and, using a soup spoon, add just enough sauce to cover the noodles to about an inch from one end. I used both alfredo and marinara sauces because that's what I had left over. Don't forget to put a little sauce in the bottom of your pan to keep your noodles from sticking while they bake.


    Spread your left over lasagna cheese filling across the noodles in the exact same pattern (I used my fingers for this), then roll up the noodles working toward the area that you left sauceless. Lay your beautiful cheese filled lasagna rolls into the bottom of your pan with the seam down to help hold everything together. There WILL be leakage of the filling as it bakes but that can't really be helped, you are turning cheese into molten delicious!


    Spread about another spoonful of sauce over each roll and stand around staring at it in complete awe of your achievement. 


    Ok, staring time is over. Sprinkle shredded cheese over the sauce, cover with foil, and shove into a 350 degree oven for about 40 minutes or until everything is bubbly and melted. Remove the foil and bake another 5-10 minutes or until you can't stand to leave them in the oven a second longer because you know the cheesy goodness is calling your name.


    This is what your rolls should look like unless you make a bigger pan of them and you cram everyone in super close.


    The plate of love can now be assembled. I put one of each roll on the plates and it was so pretty! The only thing we were missing for this to be a complete meal was a giant piece of toasted garlic bread to sop up the rest of the sauce in the bottom of the plate.


    I sincerely hope that you try this one out and love it as much as I do!

    Monday, March 12, 2012

    My crock pot failure

    I tried to make crock pot oatmeal last night so we could eat it this morning but it failed so completely that I determined it to be inedible. Here's what it was supposed to look like:


    Delicious right? I chose to add raisins and brown sugar and cinnamon to my pot of pre-planned yum and I didn't take the recipe completely seriously when it called for steel cut oats so this is what I came away with:


    It smelled WONDERFUL. It didn't at first inspection look too bad either with it's warm, plump raisins and cinnamon sugar color. Alas, it was an illusion and a lie. The whole bottom was burned and when I tasted it to see if my nose was telling the truth about the flavor I discovered that it was completely bland and watery. Notice the dark, dark edges and that slightly burned look there at the bottom? Yeah, I'm still soaking that right now so that I can clean this tasteless mess out and make my crock pot useable again. I will attempt this recipe at least one more time following ALL of the instructions and not wandering off course to do my own thing with a recipe that looked super simple. What did I end up feeding my family for breakfast instead, you ask? Just a standard easy favorite. Natto, rice, fried eggs, and furikake. Seems to be a wonderful easy fall back for me. 


    Wednesday, March 7, 2012

    Ghiradelli Mocha Devil's Food Cupcakes

    I made these cupcakes from Ghiradelli's devil's food cake with mocha butter cream frosting. I ran into a challenge when I decided that "add 1 tsp of vanilla" meant add all the vanilla but the cake came out really tasty anyway and the frosting is MUCH better served cold than at room temperature in my opinion.


     Here's the link to the Ghiradelli site recipe; just pay close attention to the instructions. This is an image of the cake from the website YUM!


    Sunday, March 4, 2012

    Fresh Fruit Trifle (I made this one up on my own)

    I had a dear friend in need of comfort food and of course that equates to desserts or pasta in my world. Saturday, I chose dessert!


    This Fresh Fruit trifle was so incredibly easy to make and thank goodness too cause I was running late! I got 2 lbs of strawberries, a package of blueberries, a gigantic Angel Food cake, and a super large tub of Cool Whip, dragged it all home and got started. I saved out a few of the strawberries (3 to be exact but you can use more or less as it suits you) to go on top for decoration then washed and quartered all the rest into a medium bowl with the washed blueberries. I think I added about a quarter cup of sugar maybe a half, I really just eyeballed it, and let my daughter do the stirring to get every berry nice and coated. The berries then went into the fridge while the whipped topping sat on the counter and I ran off to change clothes. I think about 30 minutes probably less later I broke up the angel food cake into the bottom of the trifle bowl and poured out a good bit of the berries over it then covered the berries with whipped topping and repeated the layering one more time making sure that I got all of the juice from the berry bowl into the trifle bowl. I created the lovely design you see on top there and literally ran out the door! 

    Now I'm sure that this trifle would be better if the berries were allowed to macerate longer, possibly even over night, but don't fret if you don't have that kind of time. I still got rave reviews about the dish and if I had to hazard a guess I think it's probably one of those dishes that would keep in the fridge over night pretty well letting the angel food cake absorb some of the rich berry juices. Of course that all depends on whether or not it survives that long LOL!

    Happy cooking!

    Wednesday, February 29, 2012

    Avocado baked eggs with Ham and Swiss quesadilla

    This is the very first of my Pinterest inspired recipes to try.  It's not as pretty as the picture on Pinterest or the original creator of the recipe but it was SO good! The Avocado became creamy and the richness of the egg yolk combined nicely creating this amazing "dip" for the quesadillas. The first picture is my creation.

    cut an avocado in 1/2 removed the seed, scooped out a good sized hole to hold the egg, put the oven at 400 and baked for 15 minutes. You can bake yours anywhere from 15 to 25 minutes depending on how solidly you like your egg cooked. The bigger the avocado the better and don't forget to use cooking spray on your baking sheet.


    This is the Pinterest image as well as the link to the original creator. 


    http://lifehacker.com/5881942/bake-an-egg-in-an-avocado-for-a-fast-and-healthy-breakfast-treat


    as you can see I needed a much larger avocado than the one I used but it was still SO good! Thanks lifehacker.com and the people I follow on Pinterest.com for the inspiration!

    Pinterest Addiction + Joy While Cooking = Something Amazing!

    I have decided that this blog will be my medium for all of the fun recipes I find everywhere and specifically on Pinterest. I will do my best to give credit to the original source whenever possible and hopefully I will make some really ridiculously good and good looking food.